> For the complete documentation index, see [llms.txt](https://docs.eazybackup.com/llms.txt). Markdown versions of documentation pages are available by appending `.md` to page URLs; this page is available as [Markdown](https://docs.eazybackup.com/guides/hyper-v-virtual-machine-backup-walkthrough.md).
# Hyper-V Virtual Machine Backup Walkthrough
The Hyper-V Protected Item will help you perform backups of Hyper-V guest virtual machines on Windows Server.
The underlying technology is Microsoft VSS and is compatible with all versions of Hyper-V running on Windows Server, including Windows Server 2022 (the latest version at the time of writing).
This backup type is only applicable when running on Windows Server. Hyper-V on Windows Desktop is not supported by this Protected Item type.
eazyBackup integrates with the Hyper-V VSS writer to perform a Hyper-V backup snapshot, including support for in-VM quiescence on supported guest operating systems.
Backing up a Hyper-V virtual machine with eazyBackup includes, but is not limited to:
* its configuration file
* all attached virtual drives
* the contents of memory (if the machine was running)
* the full tree of saved checkpoints
You can select individual virtual machines for backup, or choose “All virtual machines”.
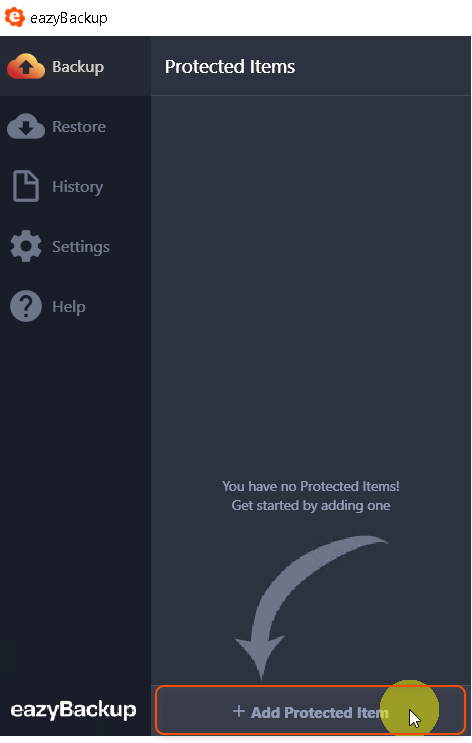
#### Step 1. Add New Protected Item:
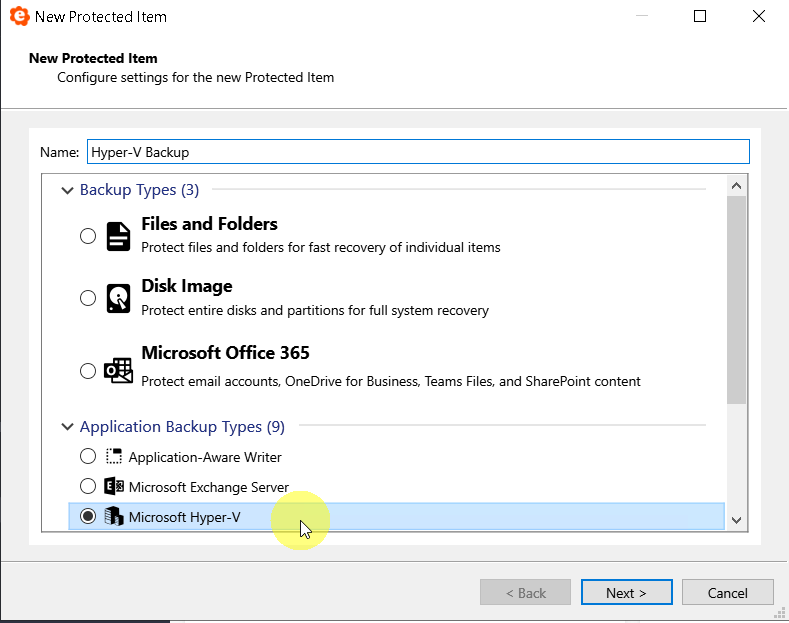
 #### Step 2. Select Microsoft Hyper-V backup type and give the Protected Item a name:
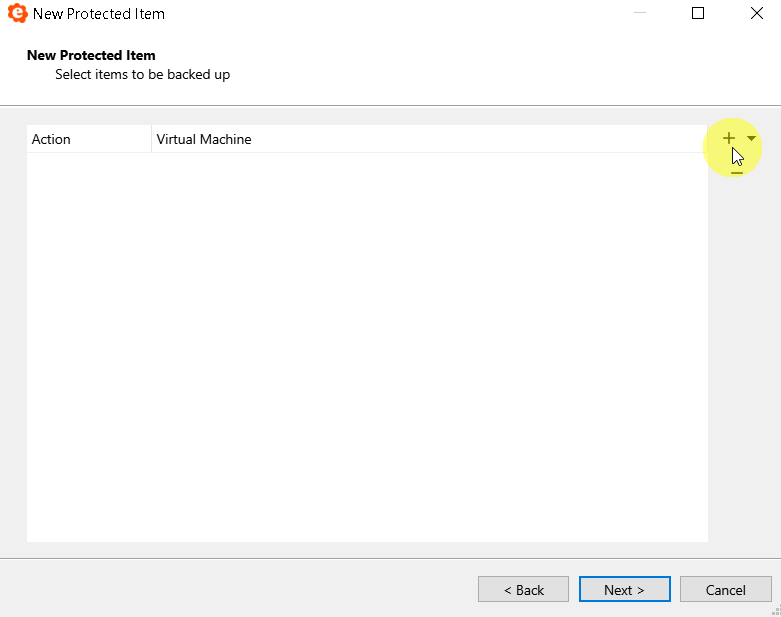
 #### Step 3. Select VMs for backup by clicking the + button:
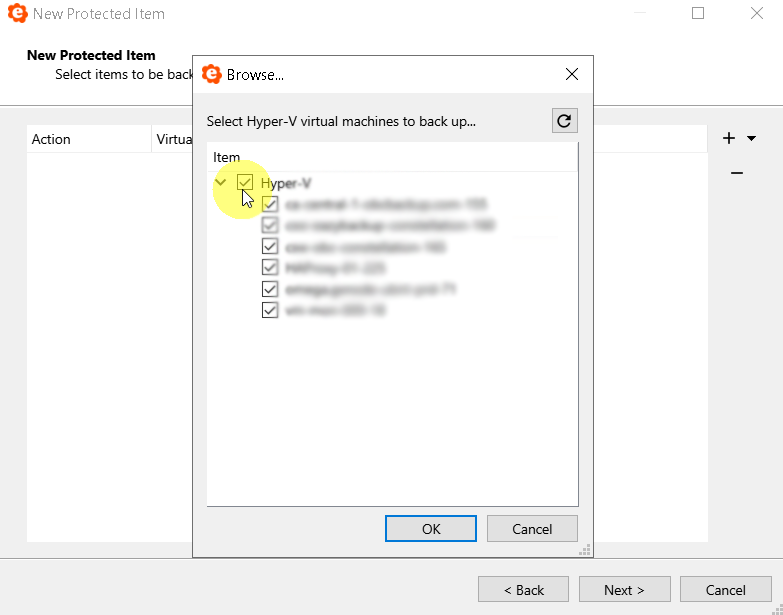
 #### Step 4. Select all Virtual Machines or individual VMs for backup:
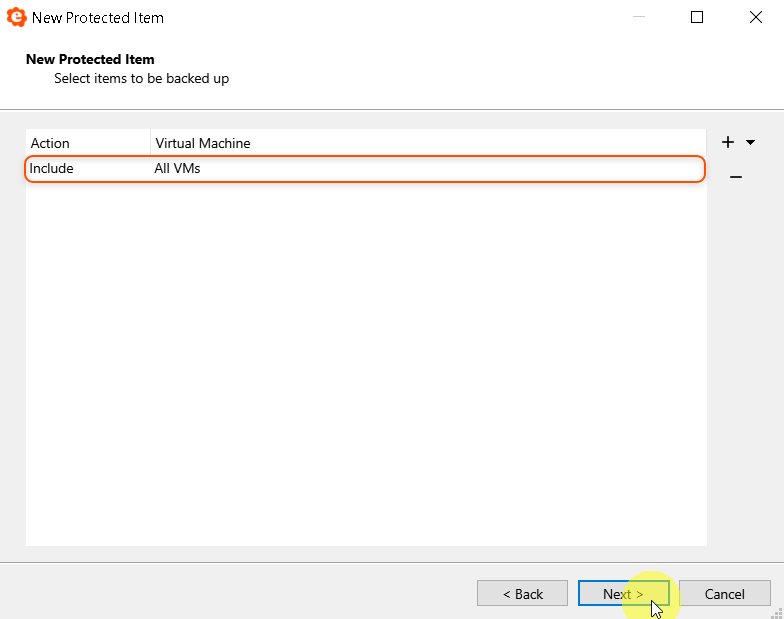
 #### Step 5. The Item selection window shows you which VMs you have selected for backup - Click Next:
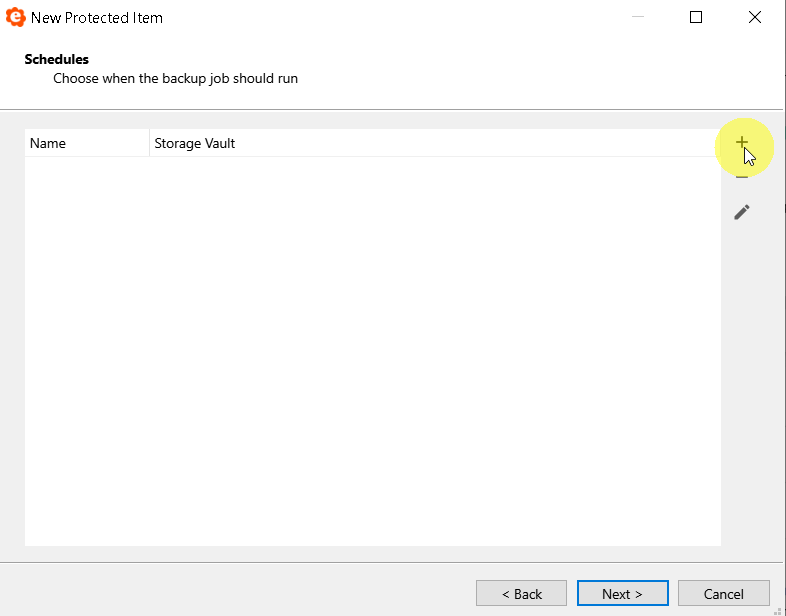
 #### Step 6. Create a new schedule, click the + button to create the schedule:
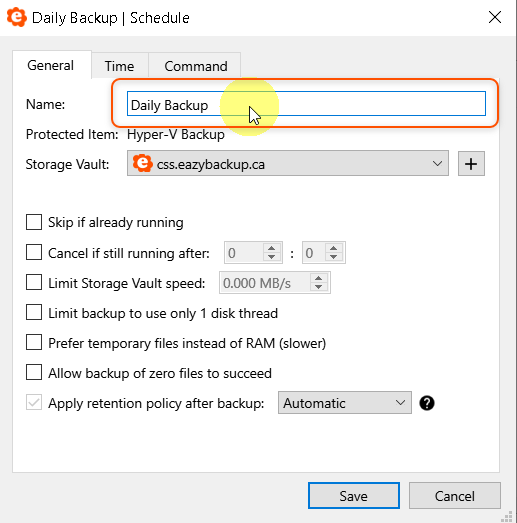
 #### Step 7. You can now name the schedule:
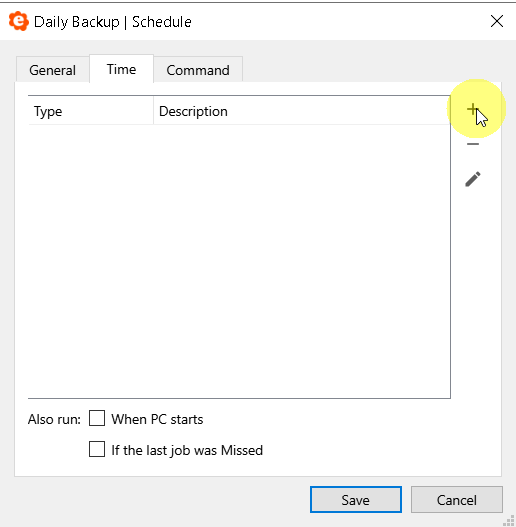
 #### Step 8. Select the Time tab, click the + button to add scheduled run times:
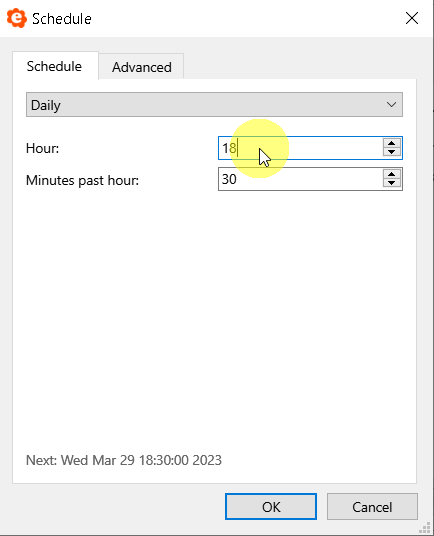
 #### Step 9. Set your start time, then click OK and Next:
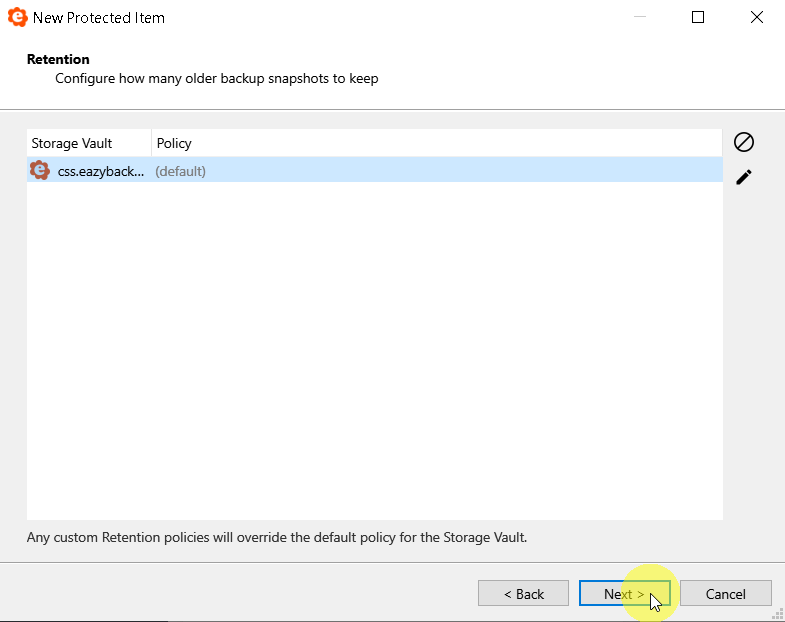
 #### Step 10. Default retention is 30 Backup Jobs, you can modify the retention settings here to suit your requirements:
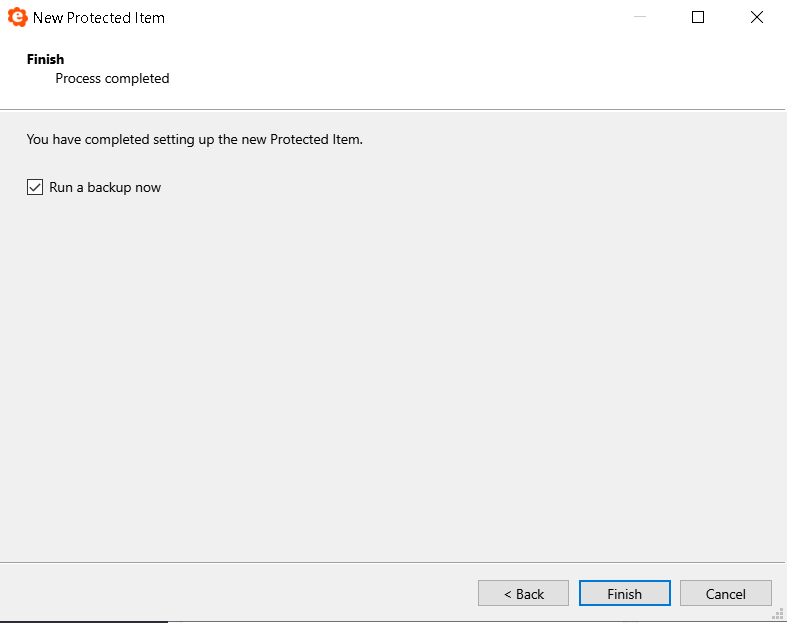
 #### Step 11. Click Finish to Save the Protected Item:
 ***
[eazyBackup](https://eazybackup.com)
***
[eazyBackup](https://eazybackup.com)